|
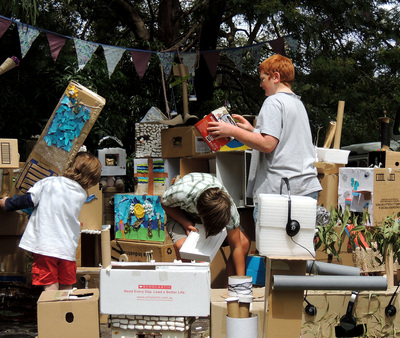
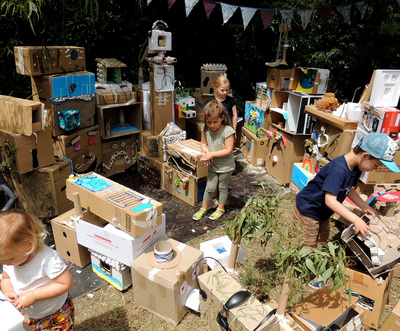
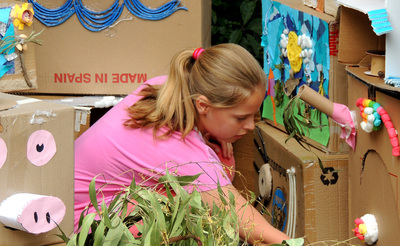
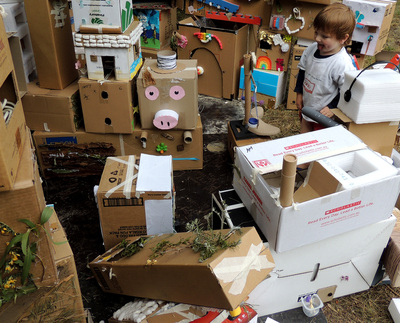
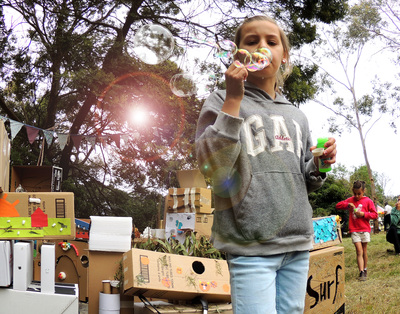
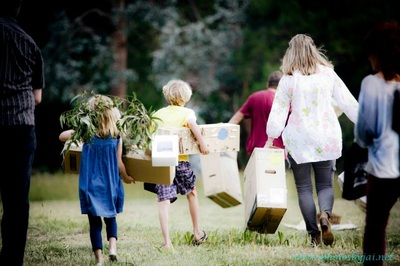
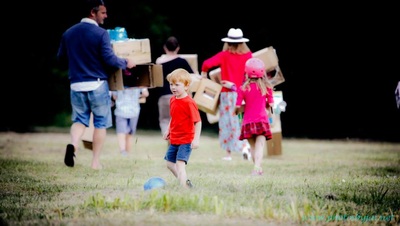
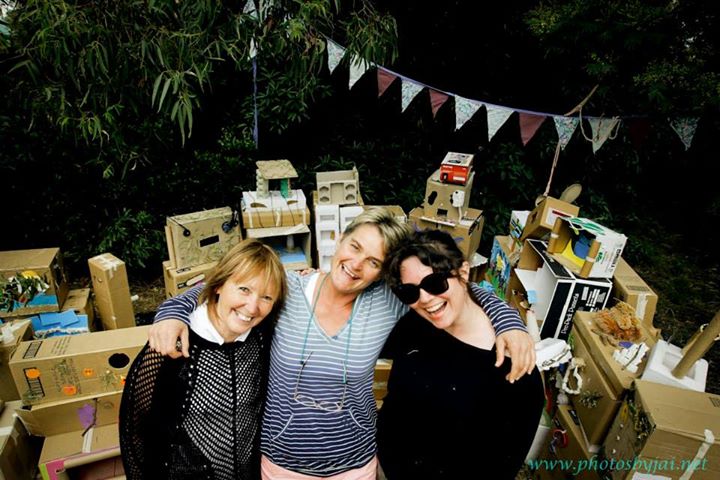
Along with the Wall collection we installed the final cubby construction from the grade 5-6 students. Being outside on the land, there was much finger crossing and forecast checking for the weather. Wind could be the project's downfall (literally), and with projected breezes from the south west i decided to play safe and put the installation in sheltered spot in the shade of a large acacia. It had a cubby kind of feel, and with the ground underneath relatively flat - we had a good base to lay boards for overall stability. In case of emergencies, I had a kit of ropes with tent pegs, tarps and posts, spay adhesive, and adhesive tape to make sure the whole thing didn't blow away. The plan was to bring along the boxes, and allow the kids to build their own cubby in an interactive art display. Here's what happened... Throughout the day, several different configurations emerged... with the students enjoying finding their own construction then placing it in the perfect spot. Kids who weren't involved in the workshops were also keen to be involved, which was great. I had hoped that more of the students would take their mini cubbies home once the garden festival had finished, but at the end of the day pretty much all of the boxes remained. So, with the help of a (mostly willing) team of volunteers we carried the boxes across the land and back to school for the students to pick up from there. The above photos are thanks to the incredibly talented Jai Seales who captured the day beautifully here.
1 Comment
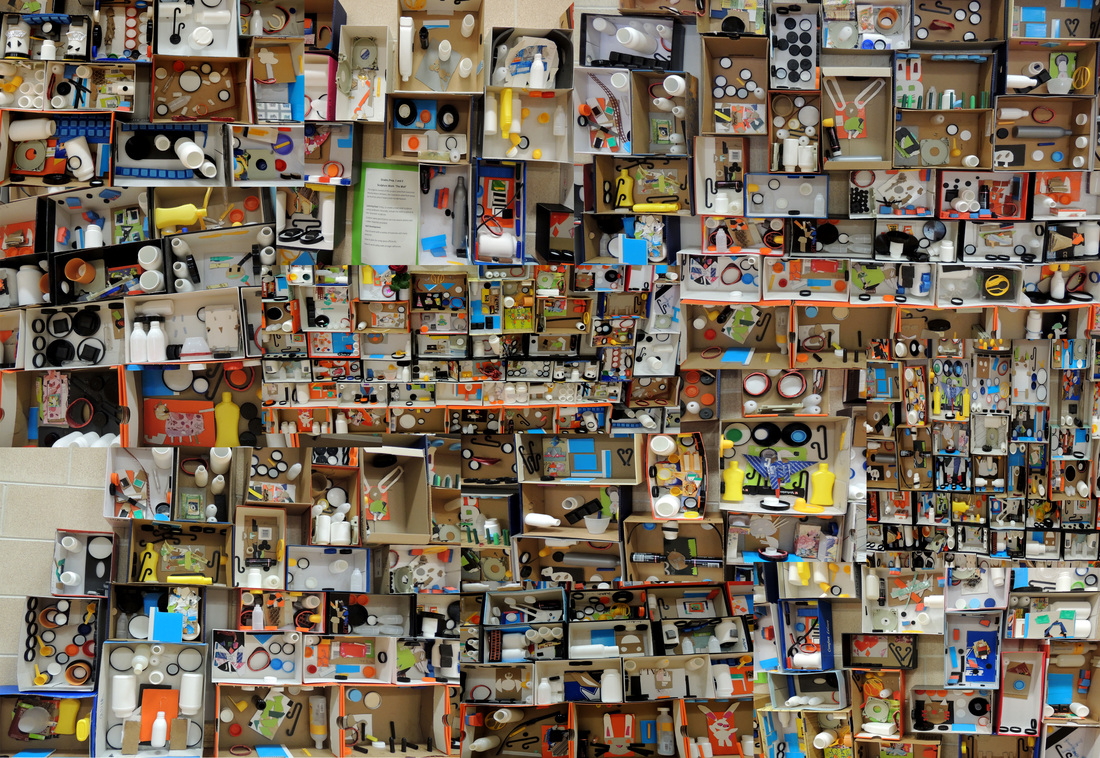
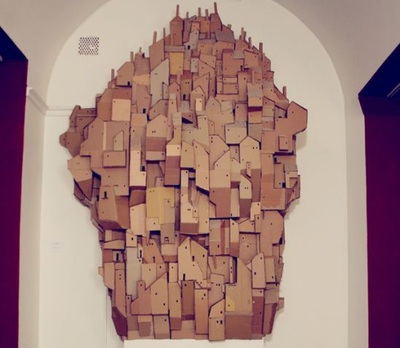
So here it is...All wrapped up. The Wall, by the preps, grade 1's and 2's from Balnarring Primary School. Over 200 boxes, thoughtfully assembled with their own relief sculptures and an assortment of interesting objects. It looked amazing.... and the feedback was awesome.
The kids were keen to see their artwork on display, delighted to be a part of a community event and really proud of their achievements. Half the fun was finding their own assemblage amongst the mix, which prompted me to consider creating a "spot what" activity to go with the display. I was super lucky to have help from Pea and Sandy from Balnarring Primary to install the wall who, due to the limited exhibition time have offered to reinstall the boxes in the school gym so the families who were unable to see the finished product get a second chance. Unexpected bonus: We even won a prize....BEST IN CLASS (I'm fairly sure we were the 'only' in class) for the Balnarring Flower Show. Nice! So... here we are. The week leading up to the BIG REVEAL. The main thing on my mind at the moment is ... "Will the boxes all fall down and the installation be a complete failure?".
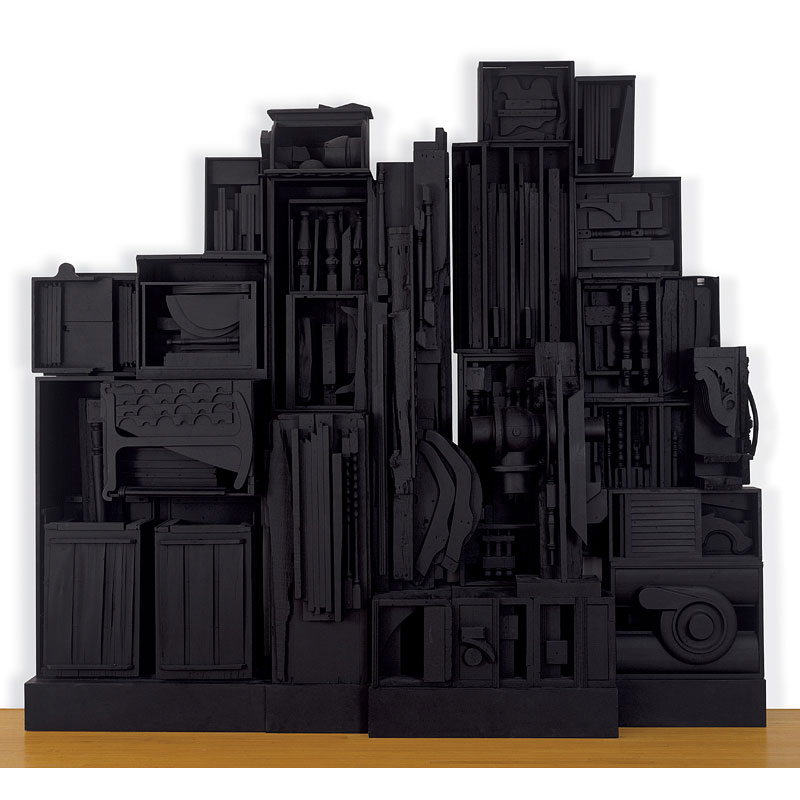
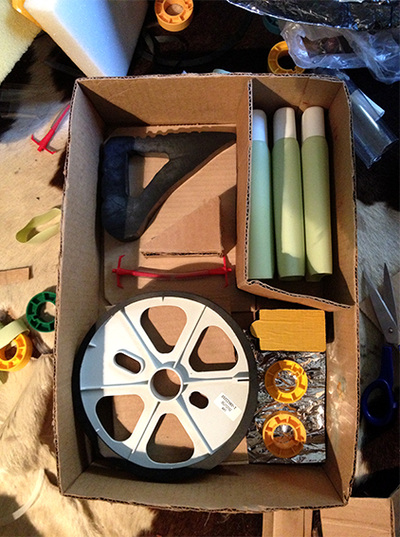
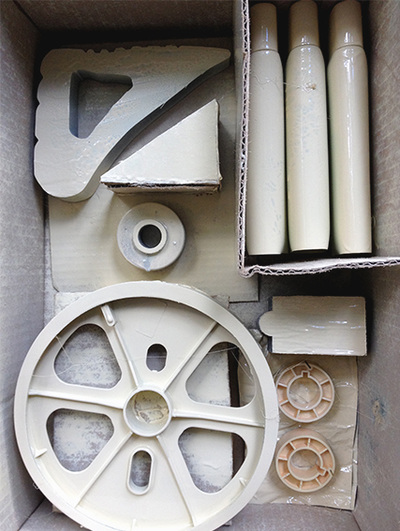
Wind will be my main problem... but my technical crew have a back up plan, with tarps as wind shields if necessary. The tarps will make photographing the installation problematic but I think we'll just have to deal with that on the day. So far the forecast is looking good with cloudy skies, mild temperatures and a slight breeze. We'll add stability with boards as a base and tomorrow (!), I'll resolve adhesives. The other unknown is the number of kids that will be there on the day to participate in the installation. Tomorrow a note goes home with the school newsletter, and promotional material has gone out in the local magazine publication...The Bridge, as well as BVC facebook and other social networking pages, so hopefully a few kids will come along to see their works all together. Perhaps, on refection it would have been better to have the installation closer to the end date of the project, given that some groups finished their works back at the beginning of August. I wonder if the gap between completing the works and display distances the kids too much from the process. Questions to be answered in evaluation... What did you enjoy about the project ? What did you find challenging ? What surprised you? How would you improve the workshops ? Would you choose to do a similar project again? Why? Why not? On sunday, as well as coordination the installation, I'm hoping to record some responses to those kind of questions for my project evaluation. Inspiration for the construction component for grade prep - 2's came from the artist Louise Nevelson. Not only was her story interesting; a woman artist working at a time when art was considered a masculine domain but her methodology was readily transferable to working with the younger grades. Each student would be able to achieve a finished sculptural piece, and together the works would combine to create a cohesive piece with (hopefully) plenty of visual impact. I introduced the classes to Nevelson, explaining that she grew up playing in her fathers' timber yard and making things (much like they had in previous art classes) with scraps of timber. We looked at images of her works and the way she combined interesting shapes to create her sculptures, then talked about her inspiration... nature, the city and space. Our next step was to combine the layered relief sculptures we had created during the last session with salvaged commercial materials into shoe boxes. The students were asked to use each interior surface of the box as a base (sides as well as base). The results were really impressive, with everyone achieving an interesting result. While I'd initially planned on spay painting each box the same colour, to replicate the style of Nevelson's sculptures, an unsuccessful grant application meant that the funding wasnt available. On refection -I think the kids will prefer seeing their work as they completed it anyway. So I'm happy with that.
Some students did extend the assemblage beyond the initial single lesson, so we were lucky to have an optional additional session to complete the project. My initial inspiration for “Growing Home" came from the RIVER QUIVER project from Turpin and Crawford; a community art project that emerged from explorations into a specific environment. In this case the Pages River and the NSW town of Murrundi. The video is well worth a watch if you're interested in environmental art. Subsequent research then, was based around the construction of large scale “puppets” that could be installed temporarily on the land in Balnarring. As I began to gather ideas and reconcile resources and restrictions on time and space, it became clear that a project the scale of River Quiver wasn't going to be achievable. So I began considering what the essential themes of the project were - and use those themes as a starting point for the workshops.
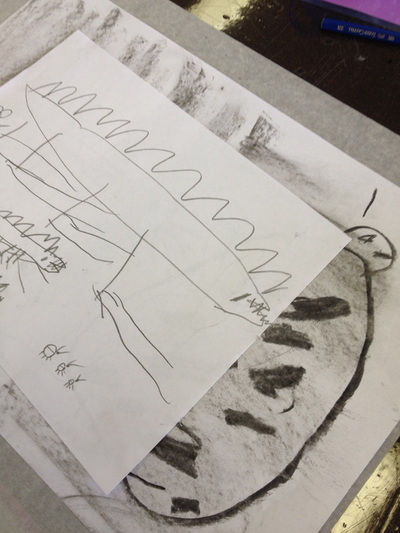
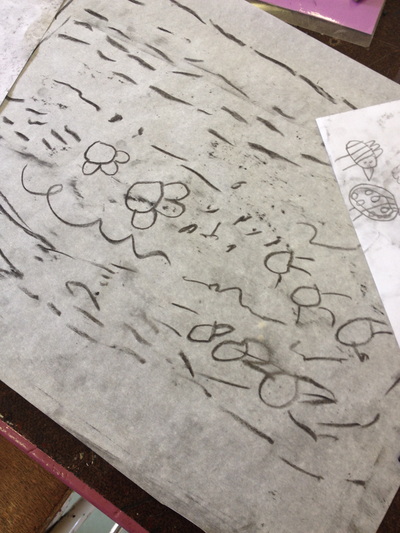
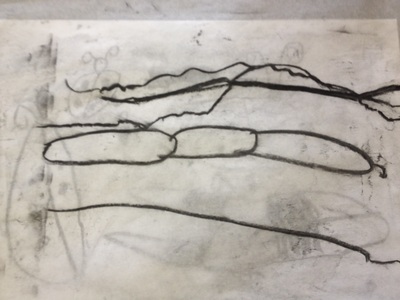
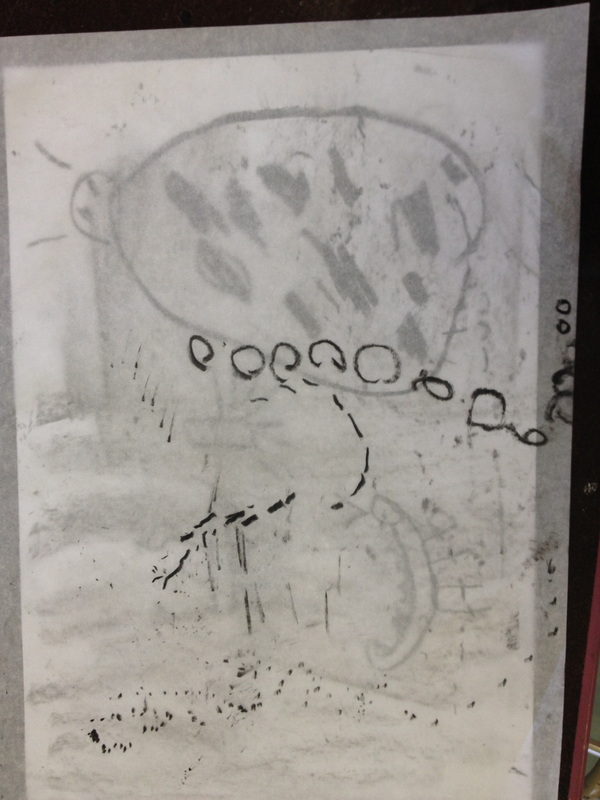
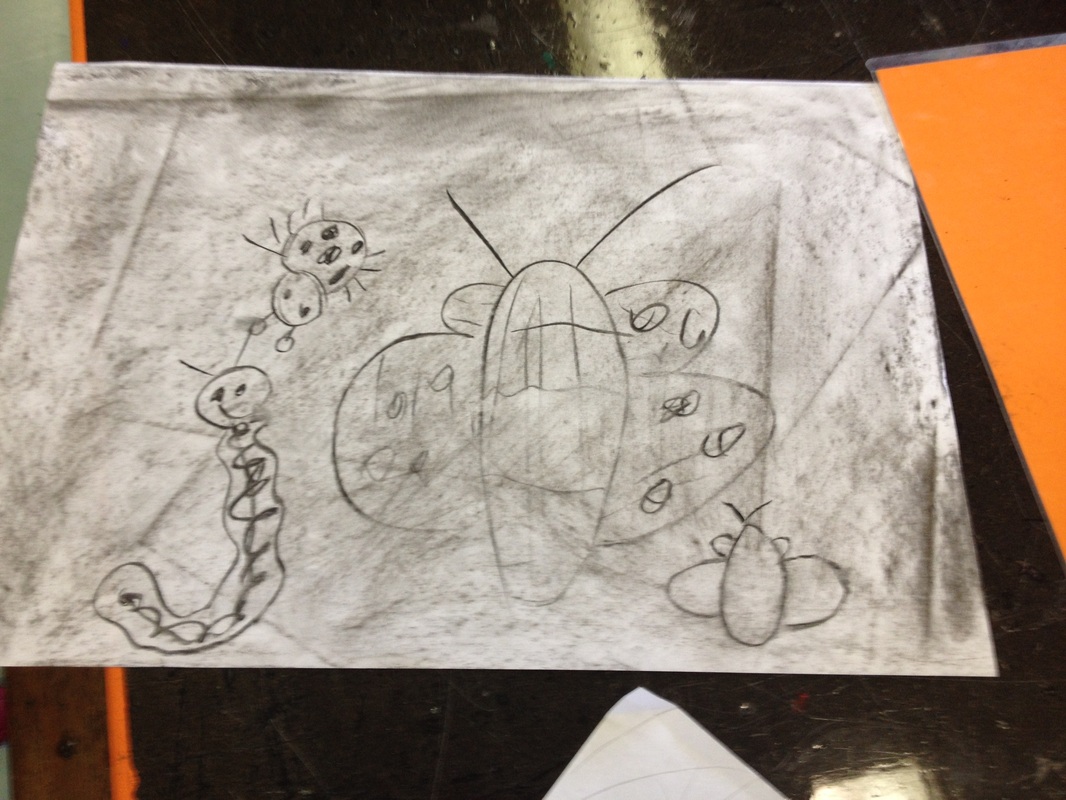
Hence Growing Home. Exploring what ideas of what HOME means to us. How do we create our homes? What elements of ourselves go into that creative process? The work of German artist Friedenreich Hundertwasser provided a great place to start. Not only could we link our warm up drawing exercises using spirals to his art, but his concept of skins was a useful way to introduce the grade 5-6’s into thinking about the ways we express ourselves though the environments we create. Briefly, the idea we talked about was that one way to understand ourselves and our place in the world is through our skins: epidermis, clothes, home, social environment and the earth. By asking the students to include elements representing themselves in the design of their own personal environments or cubby constructions, we aimed to extend understanding of their creative process in the building their own worlds. And its a bit of a leap... but extending that experience as a metaphor for life. PHEW. Art and Philosophy - nailed it. Works from last weeks Prep - Grade 2 Classes. Growing drawings and layered drawings showing a diversity of mark making using charcoal and pencil. Magical to see the techniques we've been practicing come together to make such interesting pictures.
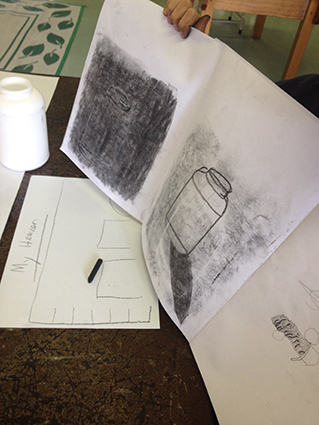
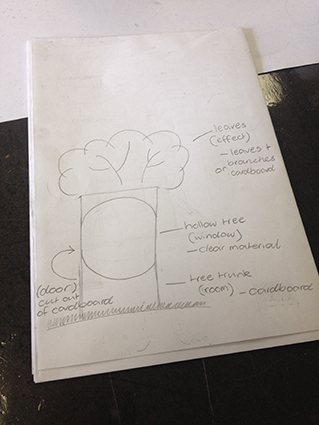
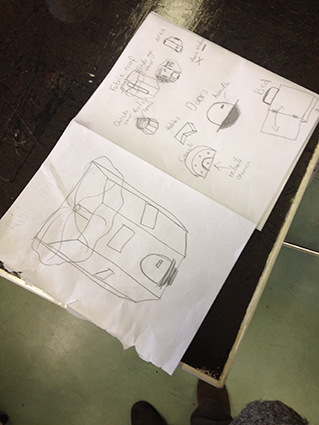
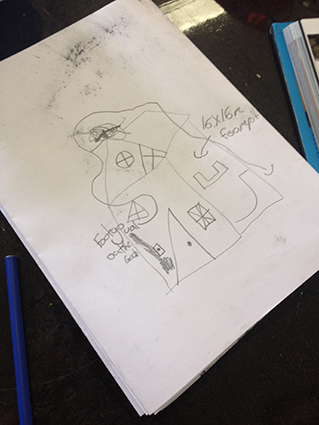
Working with the older kids in Grades 5-6 provides an entirely different set of circumstances to manage. The classes work on a rotational system, meaning that I'd design 2 x 3 hour classes, one primarily on drawing and design and one on construction. The sessions would be repeated four times (for 4 different groups - 1 each week for a month). So over an eight week period, the first 4 weeks would be drawing and the second 4, construction. SESSION 1: Drawing Increased concentration time and a longer session meant that we were able to stretch out the exercises and go deeper with each one. We started on the floor with large spiral drawings to loosen up and develop an awareness of the body in drawing. Then up to the tables for some experiments with making lines and pictures. Still life of simple shapes using sketchy lines to build the image on the page, then shading the whole page with charcoal and drawing with the eraser, using the same subject matter - a continuous line drawing followed by repeating that drawing, this time shading shadow and highlights, then onto continuous line drawing of a complex shape with pencil and blind contour drawing of their shoe. I had more exercises planned but we ran out of time, so moved quickly on to a discussion of Hundertwasser and his theories of 3 skins and creative expression. After explaining the construction element of the project, we had the students identify 5 adjectives to describe themselves that they wanted to include in their cubby design, then design a cubby that (with strict design parameters) they would build in the next session. MUCH EXCITEMENT! Evaluating the session, I felt that we spent too long on drawing and not enough on design. I had planned to create marquettes during the lesson but re setting up the classroom for construction within the time frame of the class was impractical. I decided to be more fixed with the timing of the lesson plan spending the first hour on an introduction, warm ups and drawing exercises, the second on drawing extension and the third on history, context and design. Still, after discussion with Pea, we decided that achieving the goal of a finalised construction within the constraints of the time and space available, was unlikely. Our solution was to minimize the scale of the outcomes. So rather than each pair or trio complete a single cubby, we would have each pair complete a design element/module that would be then installed on the land at a single event. More of a performance/ community art installation where participation in the construction would be driven by attendance on the day. In response to the running of the first session - I decided to also scale back the number of warm up exercises, eliminating areas I felt we were repeating skills and focus instead on consolidating. So - the session went more like 1. Spirals 2. Observational still life (bold sketchy line) 3. Shaded page drawing with eraser 4. Continuous line still life with shadow 5. Observational Continuous line complex shape 6. Blind contour 7. Simultaneous double handed observational drawing The last 2 exercises were met with limited success, perhaps a little too challenging for some of the students who at that point disengaged from the class and it was a struggle to bring them back for the rest of the lesson. Engaging students with skill sets at varying levels has become my focus - particularly for the upcoming construction session. My plan is to communicate more clearly the parameters of the project using visual prompts - projected written guidelines and images. To break down process into simple steps that the kids can follow if they need. Some drawing and design results .... And so, onto week three...
Nervousness.
Despite the hours of preparation (having a much deeper understanding of the amount of planning time that teachers spend), gathering images and materials, inspiration, practicing the workshop exercises with my daughter, research, admin, asking questions, questions and more questions. Tuesday morning arrived with me feeling desperately unprepared. With 5 classes of preps-grade 2's to entertain, inspire and guide though out the day, I was worried that my material wouldn't work. That the kids would rush through the drawing exercises and leave me with 30 minutes of free form improv. There was only one way forward of course... just to go with it. So we did. After a brief intro we started with some drawing warm ups. Movements in the air with our wrists then transferring those actions with pencil onto the page. The idea being to bring an awareness of the different ways to use our body to change the marks we make on the page. The response was varied. Some children embraced the exercise while others wondered why we were making baby marks. Step 2. Expression. We continued with our pencils to make marks that might express feelings. What would a happy line look like? (Lots of smiley lines), a frightened/shy mark ? And finalyy a mark that expressed their feelings that day. Step 3: Exploring charcoal. Just a few students had some experience in using charcoal for drawing, so it was fun to experiment with the kind of marks we could make. Using the side of the charcoal, we made some lovely fat marks filling in a good section of the page. We then used our hands to smudge back into the shades area creating smokey tones and lots of black fingers. A timely reminder then, to keep hands on the paper (not on our/friends faces!) was mostly listened to. We worked into the drawing by making marks, this time with the tip of the charcoal, then with the edge of an eraser and then with a white crayon. At this point I encouraged the kids to see if they could turn their marks into something that lived in their garden. Magic happened when the children smudged their work (again), finding that their invisible crayon lines became dark, revealing hidden parts of their image. we completed the exercise with some serious hand washing. Step 4. Continuous line drawing. Prior to the classes I had collected a number of seed pods and gum nuts, so this exercise was an introduction to observational drawing. Making sure that the objects were close to the page, the kids slowly drew the object in front of them,without taking their pencil off the paper. It was challenging to make the contour drawing, as well as keep the slow pace - so lots of reminders and quiet ambient music helped to set the scene. Most of the classes finished at this point - though with a couple we were able to extend the exercises by the introduction of combining the observational drawing with using specific marks such as cross hatching, sketchy lines or dots. The kids were able to choose where on their drawing they used each mark. Not sure how successful this exercise was - i think the problem was possibly in the way I explained the procedure. And that was the end of the class. we repeated the whole thing 6 times to make up the school day. Viola. Big thanks to Pea Saunders, Art Teacher from Balnarring Primary School for the guidance and to www.accessart.org.uk/ for their inspiration. The thing I've been spending most time on lately as far as the project goes is getting together a management plan. Identifying timelines, objectives, priorities, frameworks, constraints, resources and stakeholders. Documentation. Aaaaaaaaaahhhhhhh.
While that stuff is dry and dare I say it - a little boring, at least its doing something. The hard bit has been coming up with a concept for the workshops to fit into the constraints... Those being:
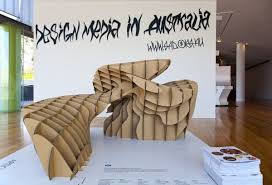
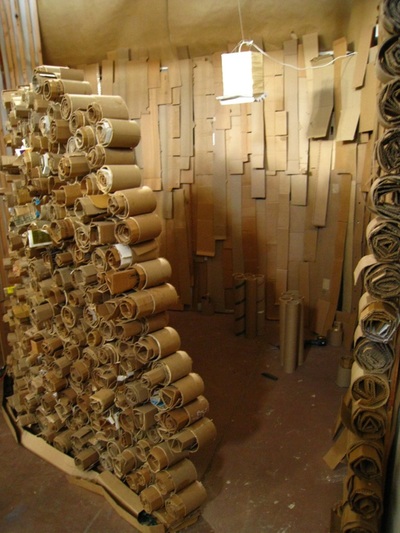
Ive been considering the possibility of working with the theme of "GROWING HOME" - thinking that the characteristics of cardboard may lend itself to some architectural style assemblages or structures. The thinking is that there is enough scope for the diverse age groups to achieve some thought provoking results while still keeping a cohesive aesthetic. Ive been doing a little research and found some great resources here and here for kids sculptural projects that have provided some great inspiration. A great place to gather materials is reverse art truck - And today I've had some fun playing with a Louise Nevelson style assemblage that could be a good way to go with the younger kids, if I can just solve the problem of suitable adhesives (ideas gratefully received). |
ABOUTCommunity Art Projects in Balnarring and beyond Archives
December 2018
Categories
All
|
 RSS Feed
