|
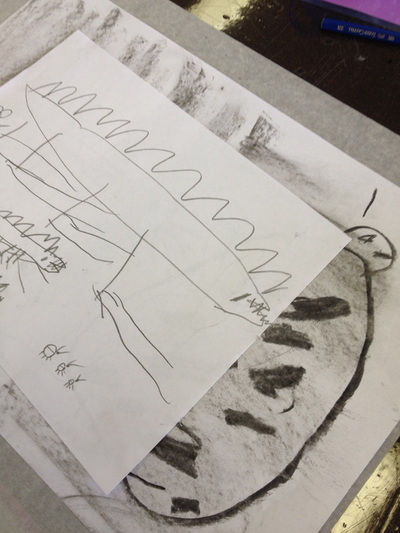
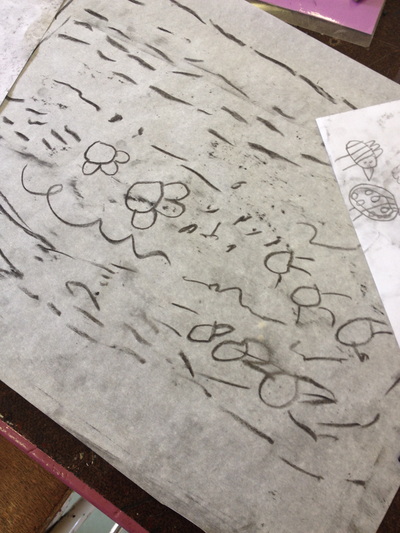
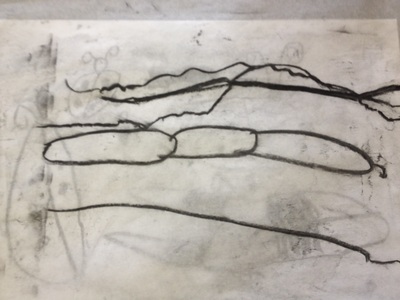
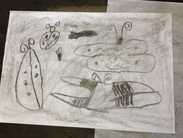
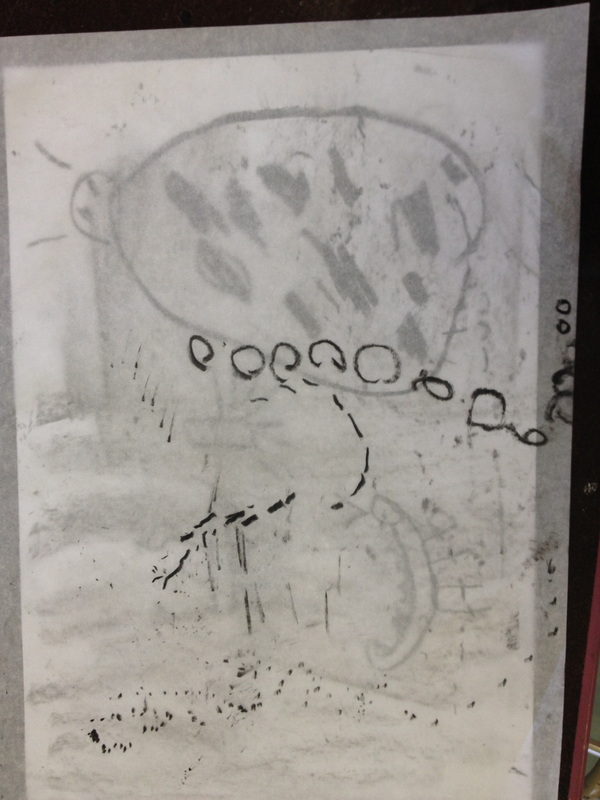
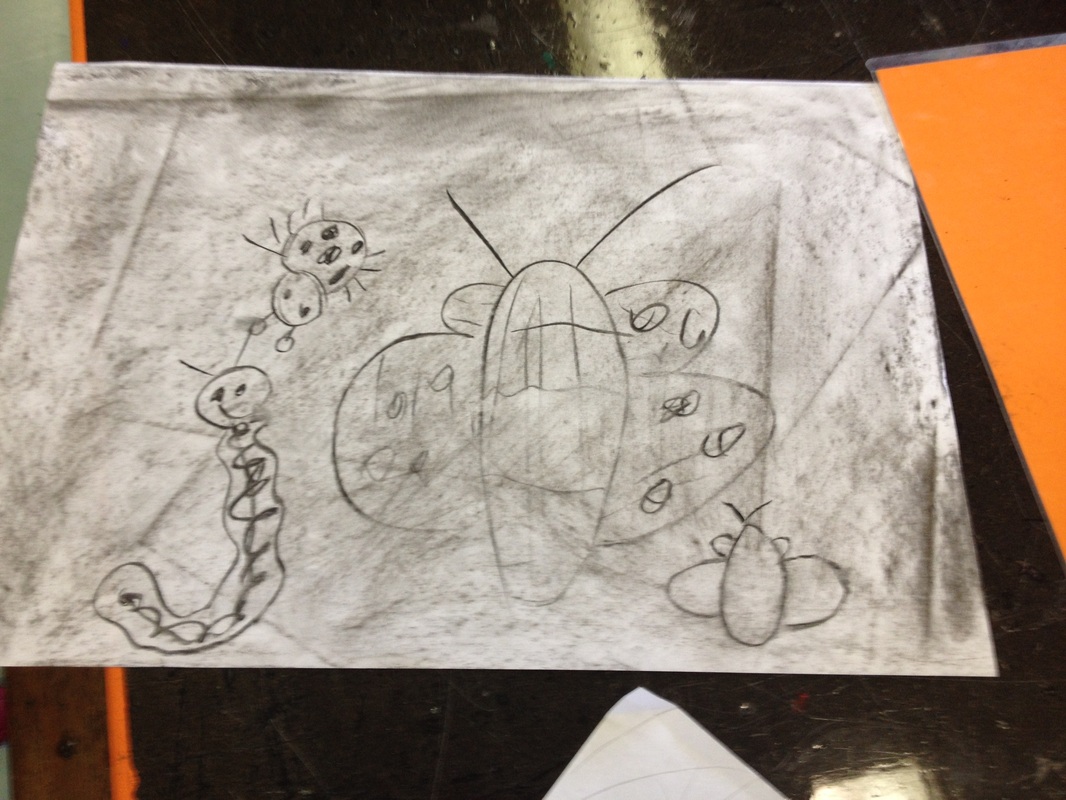
Works from last weeks Prep - Grade 2 Classes. Growing drawings and layered drawings showing a diversity of mark making using charcoal and pencil. Magical to see the techniques we've been practicing come together to make such interesting pictures.
0 Comments
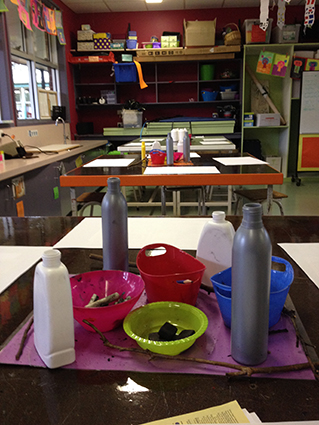
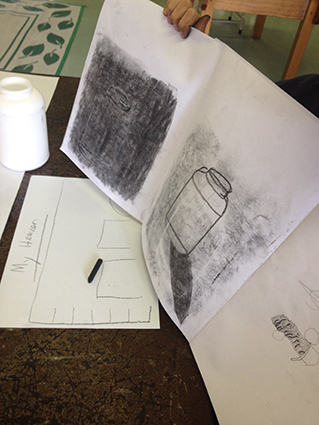
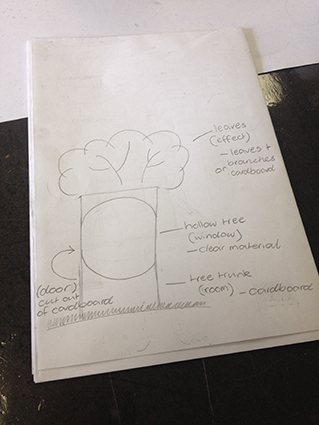
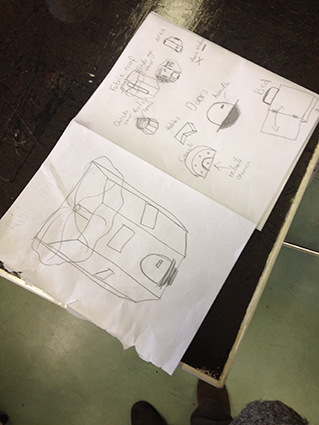
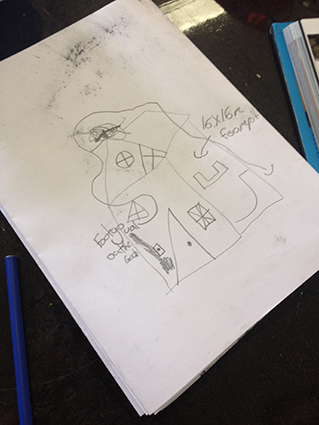
Working with the older kids in Grades 5-6 provides an entirely different set of circumstances to manage. The classes work on a rotational system, meaning that I'd design 2 x 3 hour classes, one primarily on drawing and design and one on construction. The sessions would be repeated four times (for 4 different groups - 1 each week for a month). So over an eight week period, the first 4 weeks would be drawing and the second 4, construction. SESSION 1: Drawing Increased concentration time and a longer session meant that we were able to stretch out the exercises and go deeper with each one. We started on the floor with large spiral drawings to loosen up and develop an awareness of the body in drawing. Then up to the tables for some experiments with making lines and pictures. Still life of simple shapes using sketchy lines to build the image on the page, then shading the whole page with charcoal and drawing with the eraser, using the same subject matter - a continuous line drawing followed by repeating that drawing, this time shading shadow and highlights, then onto continuous line drawing of a complex shape with pencil and blind contour drawing of their shoe. I had more exercises planned but we ran out of time, so moved quickly on to a discussion of Hundertwasser and his theories of 3 skins and creative expression. After explaining the construction element of the project, we had the students identify 5 adjectives to describe themselves that they wanted to include in their cubby design, then design a cubby that (with strict design parameters) they would build in the next session. MUCH EXCITEMENT! Evaluating the session, I felt that we spent too long on drawing and not enough on design. I had planned to create marquettes during the lesson but re setting up the classroom for construction within the time frame of the class was impractical. I decided to be more fixed with the timing of the lesson plan spending the first hour on an introduction, warm ups and drawing exercises, the second on drawing extension and the third on history, context and design. Still, after discussion with Pea, we decided that achieving the goal of a finalised construction within the constraints of the time and space available, was unlikely. Our solution was to minimize the scale of the outcomes. So rather than each pair or trio complete a single cubby, we would have each pair complete a design element/module that would be then installed on the land at a single event. More of a performance/ community art installation where participation in the construction would be driven by attendance on the day. In response to the running of the first session - I decided to also scale back the number of warm up exercises, eliminating areas I felt we were repeating skills and focus instead on consolidating. So - the session went more like 1. Spirals 2. Observational still life (bold sketchy line) 3. Shaded page drawing with eraser 4. Continuous line still life with shadow 5. Observational Continuous line complex shape 6. Blind contour 7. Simultaneous double handed observational drawing The last 2 exercises were met with limited success, perhaps a little too challenging for some of the students who at that point disengaged from the class and it was a struggle to bring them back for the rest of the lesson. Engaging students with skill sets at varying levels has become my focus - particularly for the upcoming construction session. My plan is to communicate more clearly the parameters of the project using visual prompts - projected written guidelines and images. To break down process into simple steps that the kids can follow if they need. Some drawing and design results .... And so, onto week three...
Nervousness.
Despite the hours of preparation (having a much deeper understanding of the amount of planning time that teachers spend), gathering images and materials, inspiration, practicing the workshop exercises with my daughter, research, admin, asking questions, questions and more questions. Tuesday morning arrived with me feeling desperately unprepared. With 5 classes of preps-grade 2's to entertain, inspire and guide though out the day, I was worried that my material wouldn't work. That the kids would rush through the drawing exercises and leave me with 30 minutes of free form improv. There was only one way forward of course... just to go with it. So we did. After a brief intro we started with some drawing warm ups. Movements in the air with our wrists then transferring those actions with pencil onto the page. The idea being to bring an awareness of the different ways to use our body to change the marks we make on the page. The response was varied. Some children embraced the exercise while others wondered why we were making baby marks. Step 2. Expression. We continued with our pencils to make marks that might express feelings. What would a happy line look like? (Lots of smiley lines), a frightened/shy mark ? And finalyy a mark that expressed their feelings that day. Step 3: Exploring charcoal. Just a few students had some experience in using charcoal for drawing, so it was fun to experiment with the kind of marks we could make. Using the side of the charcoal, we made some lovely fat marks filling in a good section of the page. We then used our hands to smudge back into the shades area creating smokey tones and lots of black fingers. A timely reminder then, to keep hands on the paper (not on our/friends faces!) was mostly listened to. We worked into the drawing by making marks, this time with the tip of the charcoal, then with the edge of an eraser and then with a white crayon. At this point I encouraged the kids to see if they could turn their marks into something that lived in their garden. Magic happened when the children smudged their work (again), finding that their invisible crayon lines became dark, revealing hidden parts of their image. we completed the exercise with some serious hand washing. Step 4. Continuous line drawing. Prior to the classes I had collected a number of seed pods and gum nuts, so this exercise was an introduction to observational drawing. Making sure that the objects were close to the page, the kids slowly drew the object in front of them,without taking their pencil off the paper. It was challenging to make the contour drawing, as well as keep the slow pace - so lots of reminders and quiet ambient music helped to set the scene. Most of the classes finished at this point - though with a couple we were able to extend the exercises by the introduction of combining the observational drawing with using specific marks such as cross hatching, sketchy lines or dots. The kids were able to choose where on their drawing they used each mark. Not sure how successful this exercise was - i think the problem was possibly in the way I explained the procedure. And that was the end of the class. we repeated the whole thing 6 times to make up the school day. Viola. Big thanks to Pea Saunders, Art Teacher from Balnarring Primary School for the guidance and to www.accessart.org.uk/ for their inspiration. |
ABOUTCommunity Art Projects in Balnarring and beyond Archives
December 2018
Categories
All
|
 RSS Feed
