|
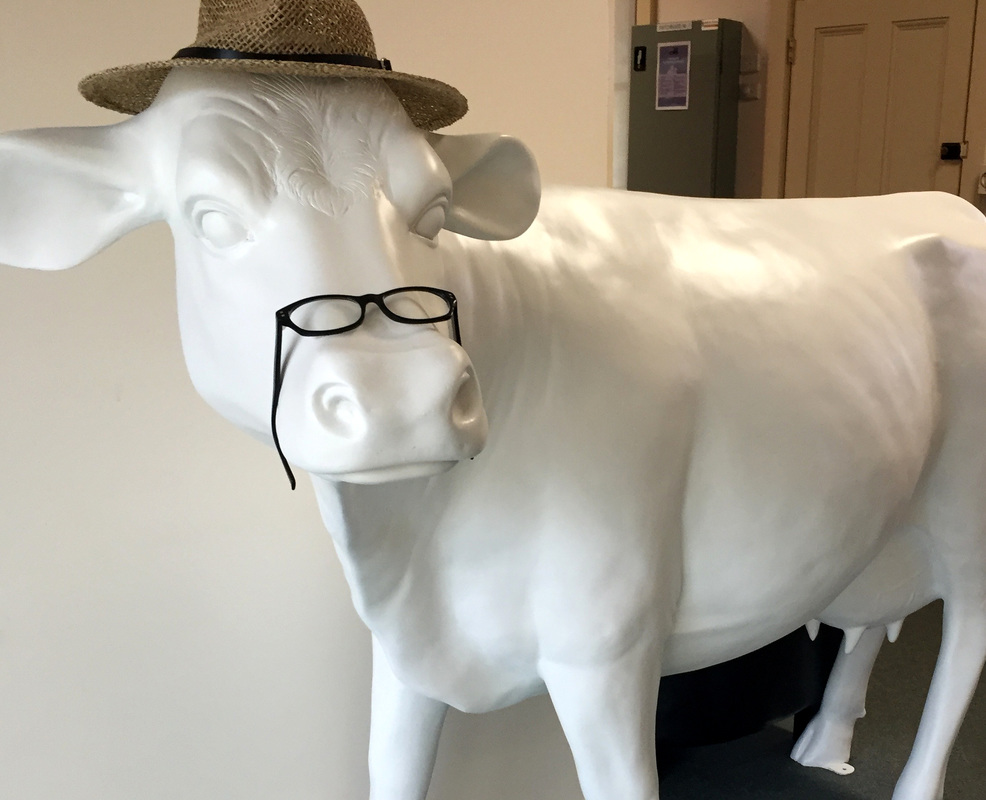
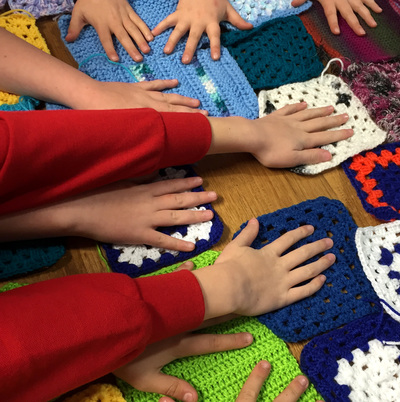
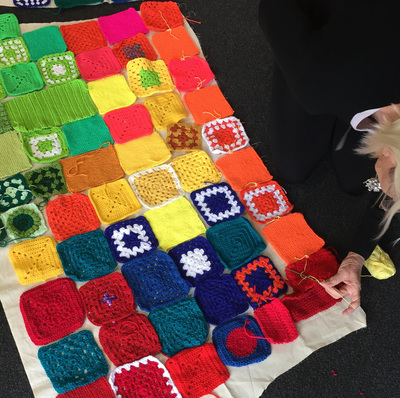
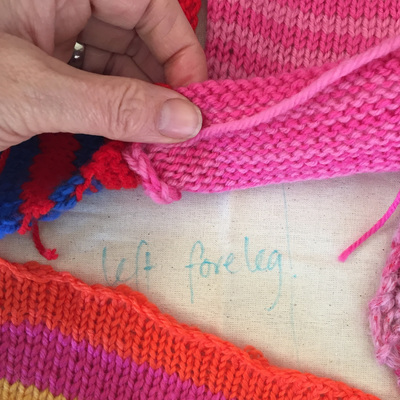
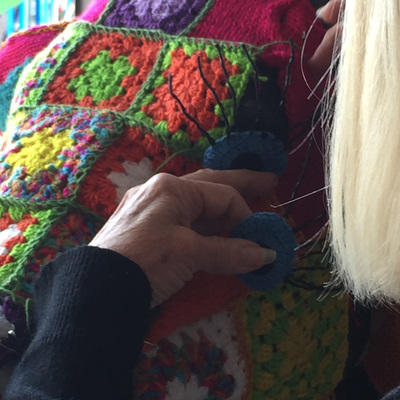
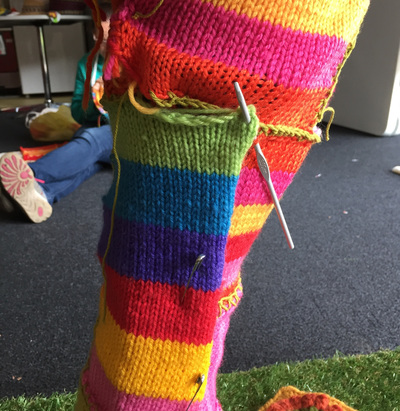
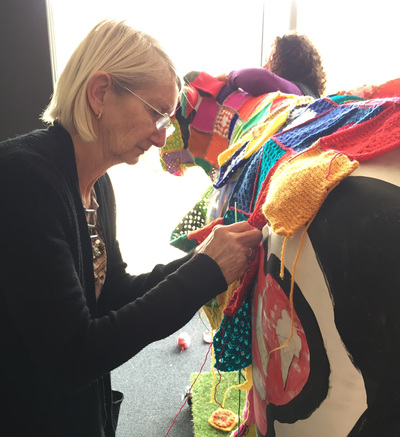
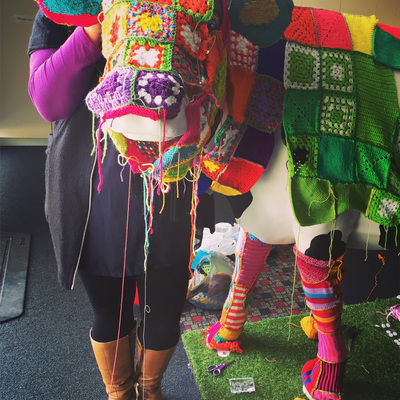
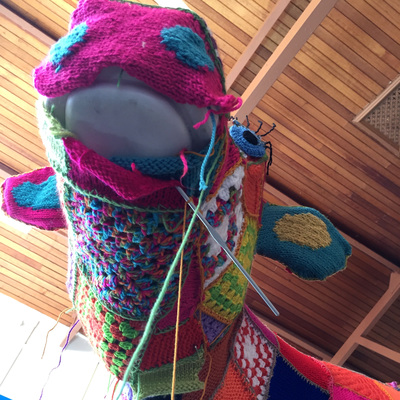
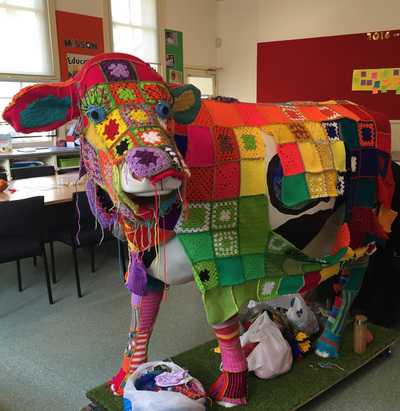
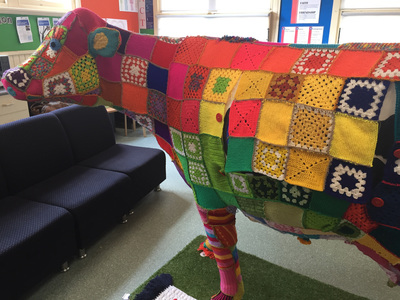
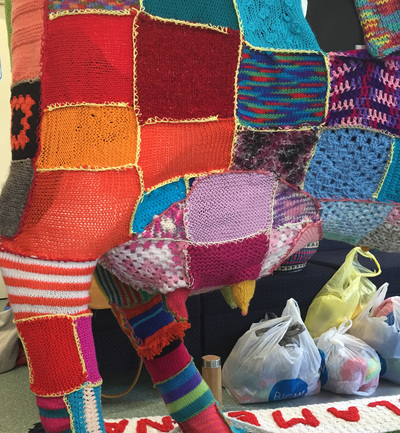
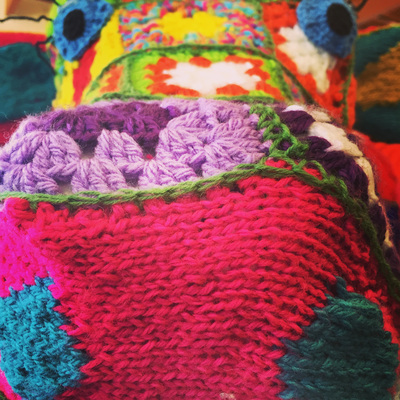
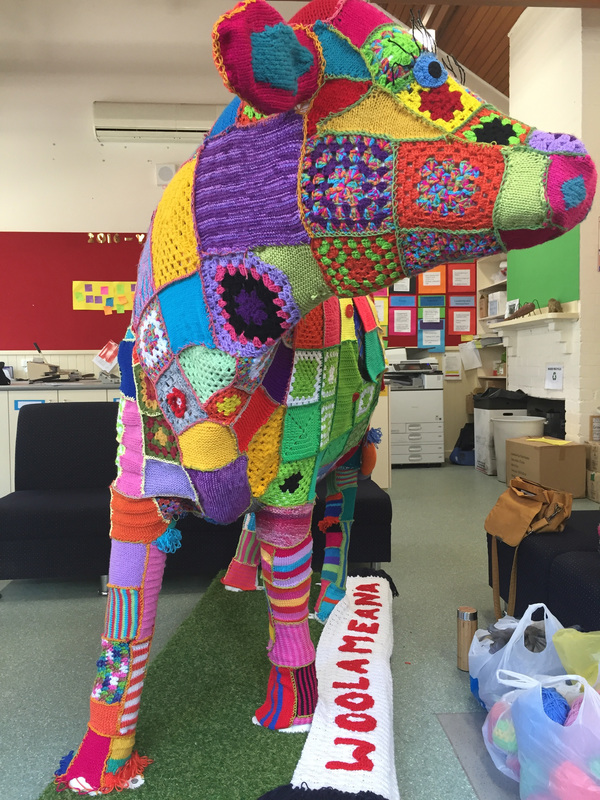
The world is an amazing place. Just when I thought Id better try looking for a 'proper job'*, though a friend of a friend of a friend, I heard about a fantastic opportunity at the wonderfully local St Josephs Catholic Primary school in Crib Point who had teamed up with the equally wonderful SongRoom to turn a plain looking cow into something special for the Picasso Cow project. A couple of weeks later and I was busily knitting away with a posse of suitably crafty individuals to create a a colourful coat for "Woolameana". I think shes rather gorgeous... * That's an entirely different blog post and someday I'll endeavor to express my feelings on promotional work, sustainable art practice, hobbists and what its all about...
0 Comments
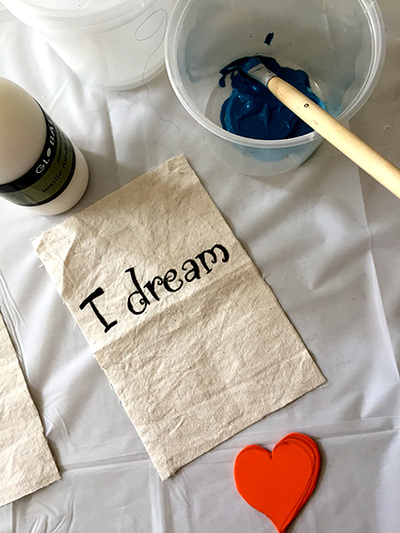
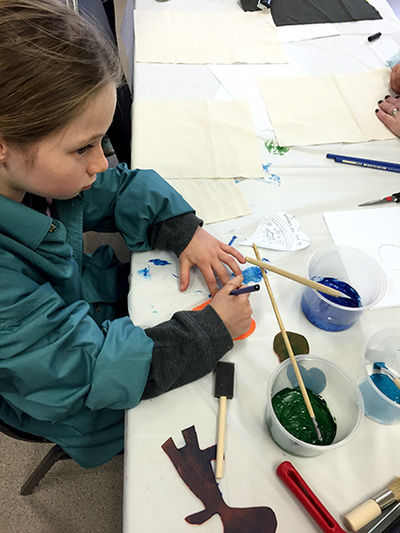
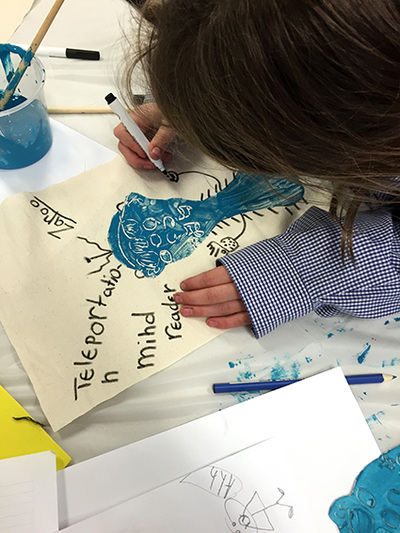
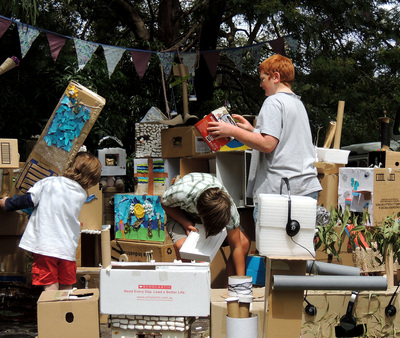
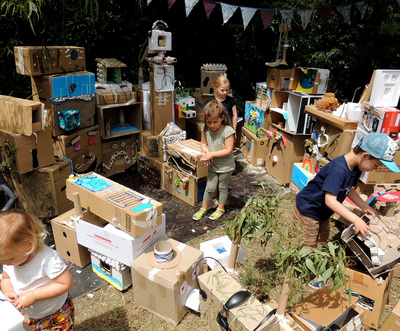
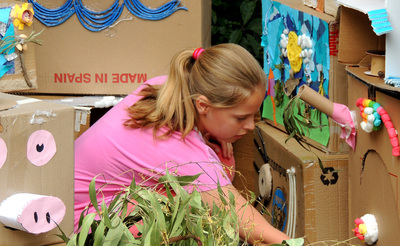
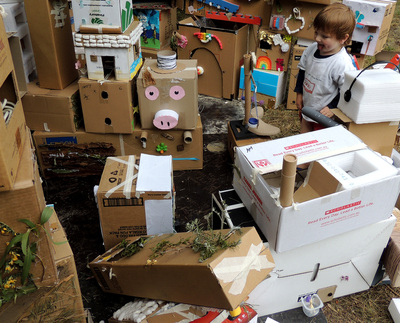
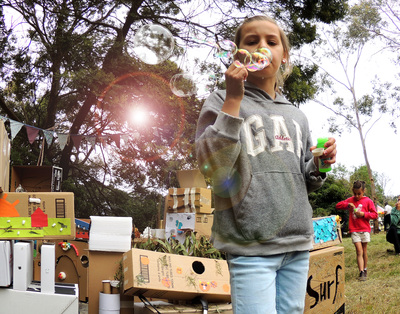
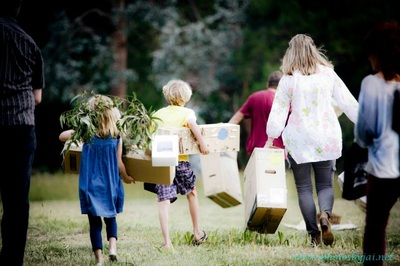
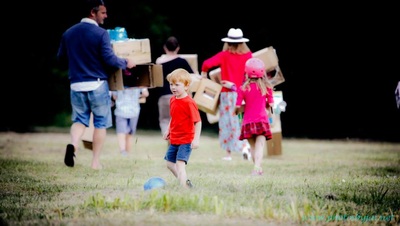
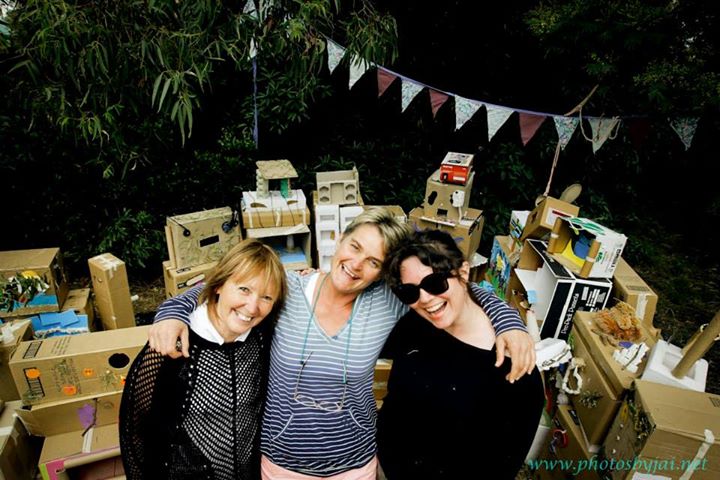
Way back in the early part of the year, I began putting together a proposal for a Community Art project to present as part of the Mornington Peninsula Shire's Placemaking Grants program. The concept built on a previous pop up Art experience presented as part of Balnarring Village Common's 2010 World Environment Day Celebrations, where participants expressed their hopes for their environment and displayed those thoughts on a tree. The new project continues the idea, using the form of Tibetan prayer flags to express the community's hopes and dreams. Fortunately - the grant application was successful, so in July planning began for community workshops to be held throughout winter and spring. From the beginning, the plan was to display the flags as part of the Balnarring Spring Garden Festival in October - but with the Balnarring Community Sustainability Fair scheduled for the previous week - wiser heads prevailed and we decided to combine the events... such a good way to reach a broader audience all the while staying sane with the amount of effort needed to put on this kind of thing. Phew. Test workshops began in July with the Presentation Family Centre Holiday Program and continued with the Balnarring Quilters and local brownies having fun with text, printmaking techniques and stitching. The next workshop happens at the Balnarring Hall on Friday August 21 4-5.30 pm... stay tuned. Along with the Wall collection we installed the final cubby construction from the grade 5-6 students. Being outside on the land, there was much finger crossing and forecast checking for the weather. Wind could be the project's downfall (literally), and with projected breezes from the south west i decided to play safe and put the installation in sheltered spot in the shade of a large acacia. It had a cubby kind of feel, and with the ground underneath relatively flat - we had a good base to lay boards for overall stability. In case of emergencies, I had a kit of ropes with tent pegs, tarps and posts, spay adhesive, and adhesive tape to make sure the whole thing didn't blow away. The plan was to bring along the boxes, and allow the kids to build their own cubby in an interactive art display. Here's what happened... Throughout the day, several different configurations emerged... with the students enjoying finding their own construction then placing it in the perfect spot. Kids who weren't involved in the workshops were also keen to be involved, which was great. I had hoped that more of the students would take their mini cubbies home once the garden festival had finished, but at the end of the day pretty much all of the boxes remained. So, with the help of a (mostly willing) team of volunteers we carried the boxes across the land and back to school for the students to pick up from there. The above photos are thanks to the incredibly talented Jai Seales who captured the day beautifully here.
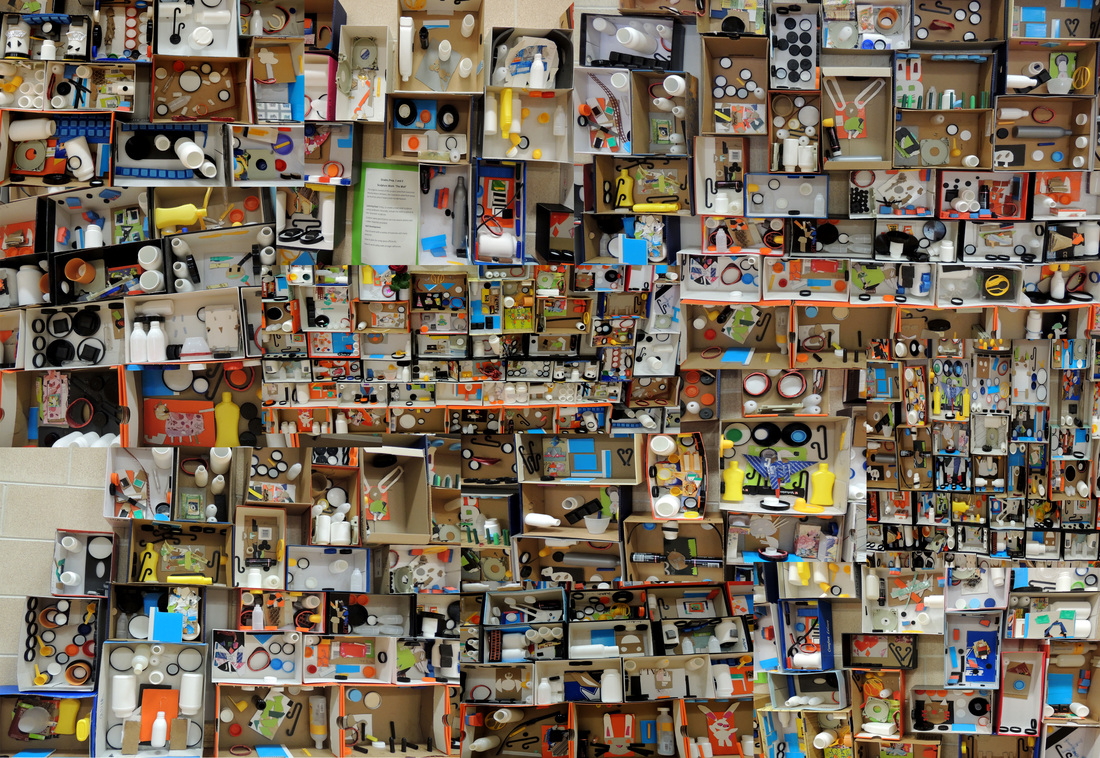
So here it is...All wrapped up. The Wall, by the preps, grade 1's and 2's from Balnarring Primary School. Over 200 boxes, thoughtfully assembled with their own relief sculptures and an assortment of interesting objects. It looked amazing.... and the feedback was awesome.
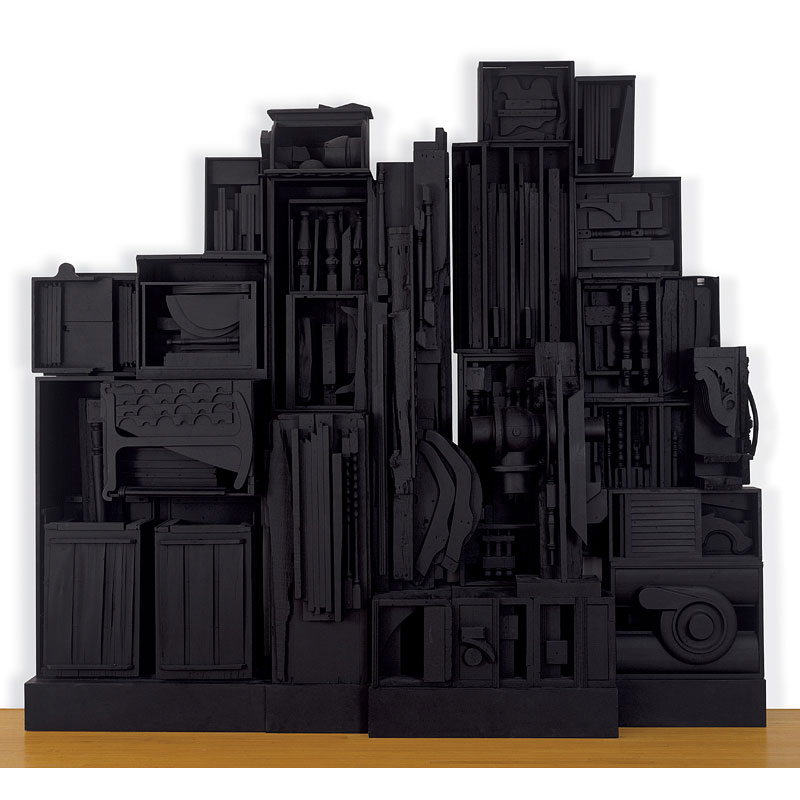
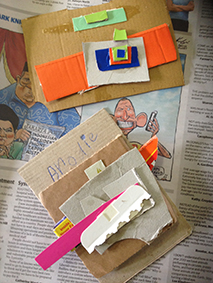
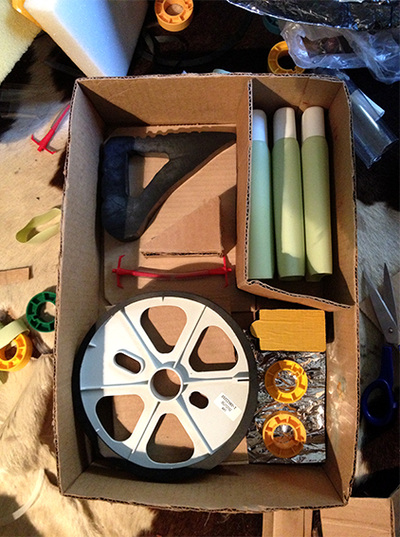
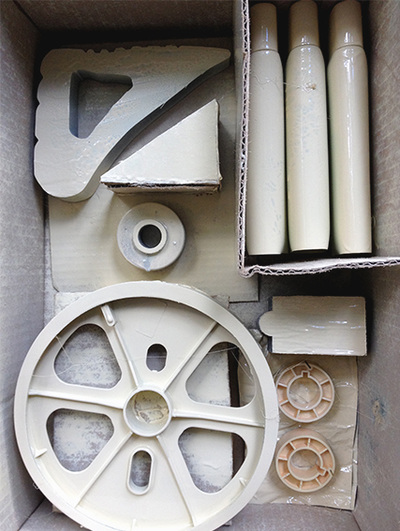
The kids were keen to see their artwork on display, delighted to be a part of a community event and really proud of their achievements. Half the fun was finding their own assemblage amongst the mix, which prompted me to consider creating a "spot what" activity to go with the display. I was super lucky to have help from Pea and Sandy from Balnarring Primary to install the wall who, due to the limited exhibition time have offered to reinstall the boxes in the school gym so the families who were unable to see the finished product get a second chance. Unexpected bonus: We even won a prize....BEST IN CLASS (I'm fairly sure we were the 'only' in class) for the Balnarring Flower Show. Nice! Inspiration for the construction component for grade prep - 2's came from the artist Louise Nevelson. Not only was her story interesting; a woman artist working at a time when art was considered a masculine domain but her methodology was readily transferable to working with the younger grades. Each student would be able to achieve a finished sculptural piece, and together the works would combine to create a cohesive piece with (hopefully) plenty of visual impact. I introduced the classes to Nevelson, explaining that she grew up playing in her fathers' timber yard and making things (much like they had in previous art classes) with scraps of timber. We looked at images of her works and the way she combined interesting shapes to create her sculptures, then talked about her inspiration... nature, the city and space. Our next step was to combine the layered relief sculptures we had created during the last session with salvaged commercial materials into shoe boxes. The students were asked to use each interior surface of the box as a base (sides as well as base). The results were really impressive, with everyone achieving an interesting result. While I'd initially planned on spay painting each box the same colour, to replicate the style of Nevelson's sculptures, an unsuccessful grant application meant that the funding wasnt available. On refection -I think the kids will prefer seeing their work as they completed it anyway. So I'm happy with that.
Some students did extend the assemblage beyond the initial single lesson, so we were lucky to have an optional additional session to complete the project. My initial inspiration for “Growing Home" came from the RIVER QUIVER project from Turpin and Crawford; a community art project that emerged from explorations into a specific environment. In this case the Pages River and the NSW town of Murrundi. The video is well worth a watch if you're interested in environmental art. Subsequent research then, was based around the construction of large scale “puppets” that could be installed temporarily on the land in Balnarring. As I began to gather ideas and reconcile resources and restrictions on time and space, it became clear that a project the scale of River Quiver wasn't going to be achievable. So I began considering what the essential themes of the project were - and use those themes as a starting point for the workshops.
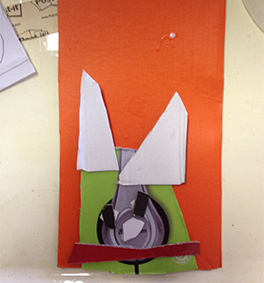
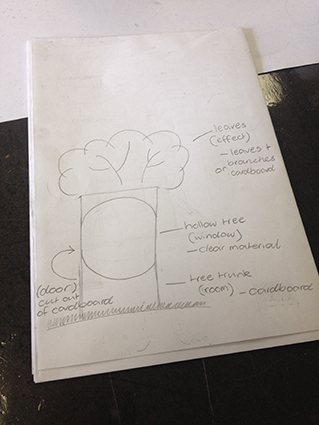
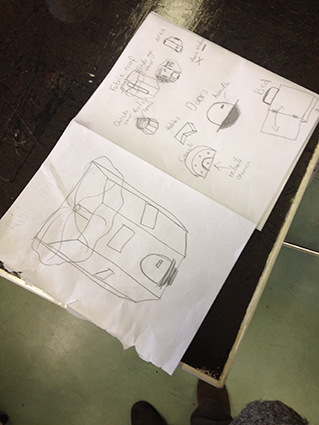
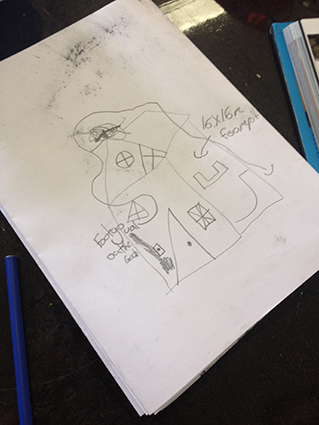
Hence Growing Home. Exploring what ideas of what HOME means to us. How do we create our homes? What elements of ourselves go into that creative process? The work of German artist Friedenreich Hundertwasser provided a great place to start. Not only could we link our warm up drawing exercises using spirals to his art, but his concept of skins was a useful way to introduce the grade 5-6’s into thinking about the ways we express ourselves though the environments we create. Briefly, the idea we talked about was that one way to understand ourselves and our place in the world is through our skins: epidermis, clothes, home, social environment and the earth. By asking the students to include elements representing themselves in the design of their own personal environments or cubby constructions, we aimed to extend understanding of their creative process in the building their own worlds. And its a bit of a leap... but extending that experience as a metaphor for life. PHEW. Art and Philosophy - nailed it. With the beginning of the construction component of our project, once again my main concern (particularly as these were the least structured lessons) was that the kids would whack together some cardboard and plastic in a box then call it done. 10 minutes tops. And its true - some of the younger grades did tend to rush, but over all the process took much longer than I'd feared. phew. With the preps - grade 2's I decided to break down the lesson further. I'd determined that our first learning goal would be an exploration of space and size in composition. Attempting to explain space to the preps really got me thinking. I'd never considered what abstract concept it is. The best explanation we (as a group) came up with was in space in relation to another object - ie this table is next to that chair, there is empty space between that we call negative space. The space the table takes up, is positive space. Then we made some drawings. Using shapes, we started filing the negative space on a page. We noticed that we needed to draw progressively smaller shapes to really fill the page. Next - we introduced the concept of dimension. We began making a relief sculpture, building up the surface using layered shapes on cardboard. Some kids were happy to work using simple geometric or organic forms while others were keen to work figuratively. These sculptural elements were to be included into the shoe box assemblage to be introduced in the next session. Gorgeous.
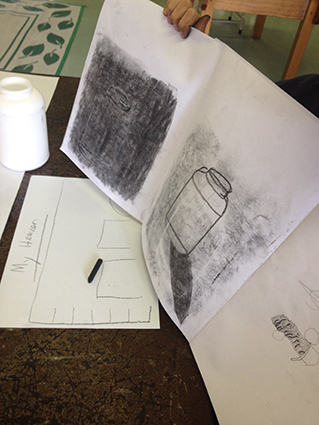
Working with the older kids in Grades 5-6 provides an entirely different set of circumstances to manage. The classes work on a rotational system, meaning that I'd design 2 x 3 hour classes, one primarily on drawing and design and one on construction. The sessions would be repeated four times (for 4 different groups - 1 each week for a month). So over an eight week period, the first 4 weeks would be drawing and the second 4, construction. SESSION 1: Drawing Increased concentration time and a longer session meant that we were able to stretch out the exercises and go deeper with each one. We started on the floor with large spiral drawings to loosen up and develop an awareness of the body in drawing. Then up to the tables for some experiments with making lines and pictures. Still life of simple shapes using sketchy lines to build the image on the page, then shading the whole page with charcoal and drawing with the eraser, using the same subject matter - a continuous line drawing followed by repeating that drawing, this time shading shadow and highlights, then onto continuous line drawing of a complex shape with pencil and blind contour drawing of their shoe. I had more exercises planned but we ran out of time, so moved quickly on to a discussion of Hundertwasser and his theories of 3 skins and creative expression. After explaining the construction element of the project, we had the students identify 5 adjectives to describe themselves that they wanted to include in their cubby design, then design a cubby that (with strict design parameters) they would build in the next session. MUCH EXCITEMENT! Evaluating the session, I felt that we spent too long on drawing and not enough on design. I had planned to create marquettes during the lesson but re setting up the classroom for construction within the time frame of the class was impractical. I decided to be more fixed with the timing of the lesson plan spending the first hour on an introduction, warm ups and drawing exercises, the second on drawing extension and the third on history, context and design. Still, after discussion with Pea, we decided that achieving the goal of a finalised construction within the constraints of the time and space available, was unlikely. Our solution was to minimize the scale of the outcomes. So rather than each pair or trio complete a single cubby, we would have each pair complete a design element/module that would be then installed on the land at a single event. More of a performance/ community art installation where participation in the construction would be driven by attendance on the day. In response to the running of the first session - I decided to also scale back the number of warm up exercises, eliminating areas I felt we were repeating skills and focus instead on consolidating. So - the session went more like 1. Spirals 2. Observational still life (bold sketchy line) 3. Shaded page drawing with eraser 4. Continuous line still life with shadow 5. Observational Continuous line complex shape 6. Blind contour 7. Simultaneous double handed observational drawing The last 2 exercises were met with limited success, perhaps a little too challenging for some of the students who at that point disengaged from the class and it was a struggle to bring them back for the rest of the lesson. Engaging students with skill sets at varying levels has become my focus - particularly for the upcoming construction session. My plan is to communicate more clearly the parameters of the project using visual prompts - projected written guidelines and images. To break down process into simple steps that the kids can follow if they need. Some drawing and design results .... And so, onto week three...
The thing I've been spending most time on lately as far as the project goes is getting together a management plan. Identifying timelines, objectives, priorities, frameworks, constraints, resources and stakeholders. Documentation. Aaaaaaaaaahhhhhhh.
While that stuff is dry and dare I say it - a little boring, at least its doing something. The hard bit has been coming up with a concept for the workshops to fit into the constraints... Those being:
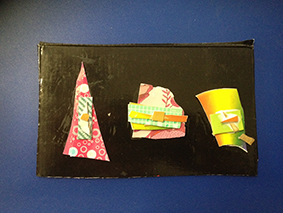
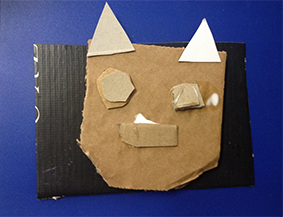
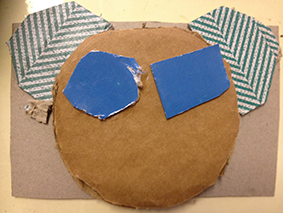
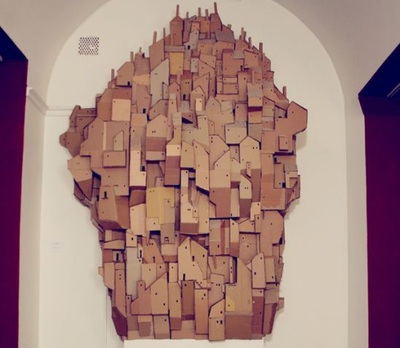
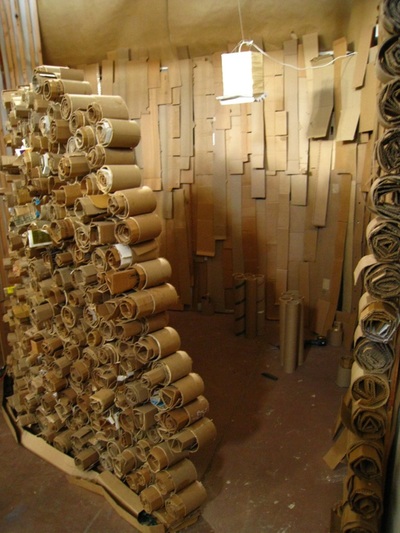
Ive been considering the possibility of working with the theme of "GROWING HOME" - thinking that the characteristics of cardboard may lend itself to some architectural style assemblages or structures. The thinking is that there is enough scope for the diverse age groups to achieve some thought provoking results while still keeping a cohesive aesthetic. Ive been doing a little research and found some great resources here and here for kids sculptural projects that have provided some great inspiration. A great place to gather materials is reverse art truck - And today I've had some fun playing with a Louise Nevelson style assemblage that could be a good way to go with the younger kids, if I can just solve the problem of suitable adhesives (ideas gratefully received). |
ABOUTCommunity Art Projects in Balnarring and beyond Archives
December 2018
Categories
All
|
 RSS Feed
